A room can look bright to your eyes and still look terrible on camera. Overhead lighting can leave deep shadows around someone’s eyes. A bright window can compete with the person talking. Nearby white walls can bounce light into the shadows and reduce the contrast you wanted.
Video production lighting is how we decide what you see, where you look and how the scene feels. The equipment matters, but putting more lights in a room isn’t a lighting plan. Each source needs a job.
These five techniques cover the decisions behind a useful setup: shape the subject, choose the quality of light, manage daylight, control spill and get the color right.
1. Use three-point lighting as a starting point
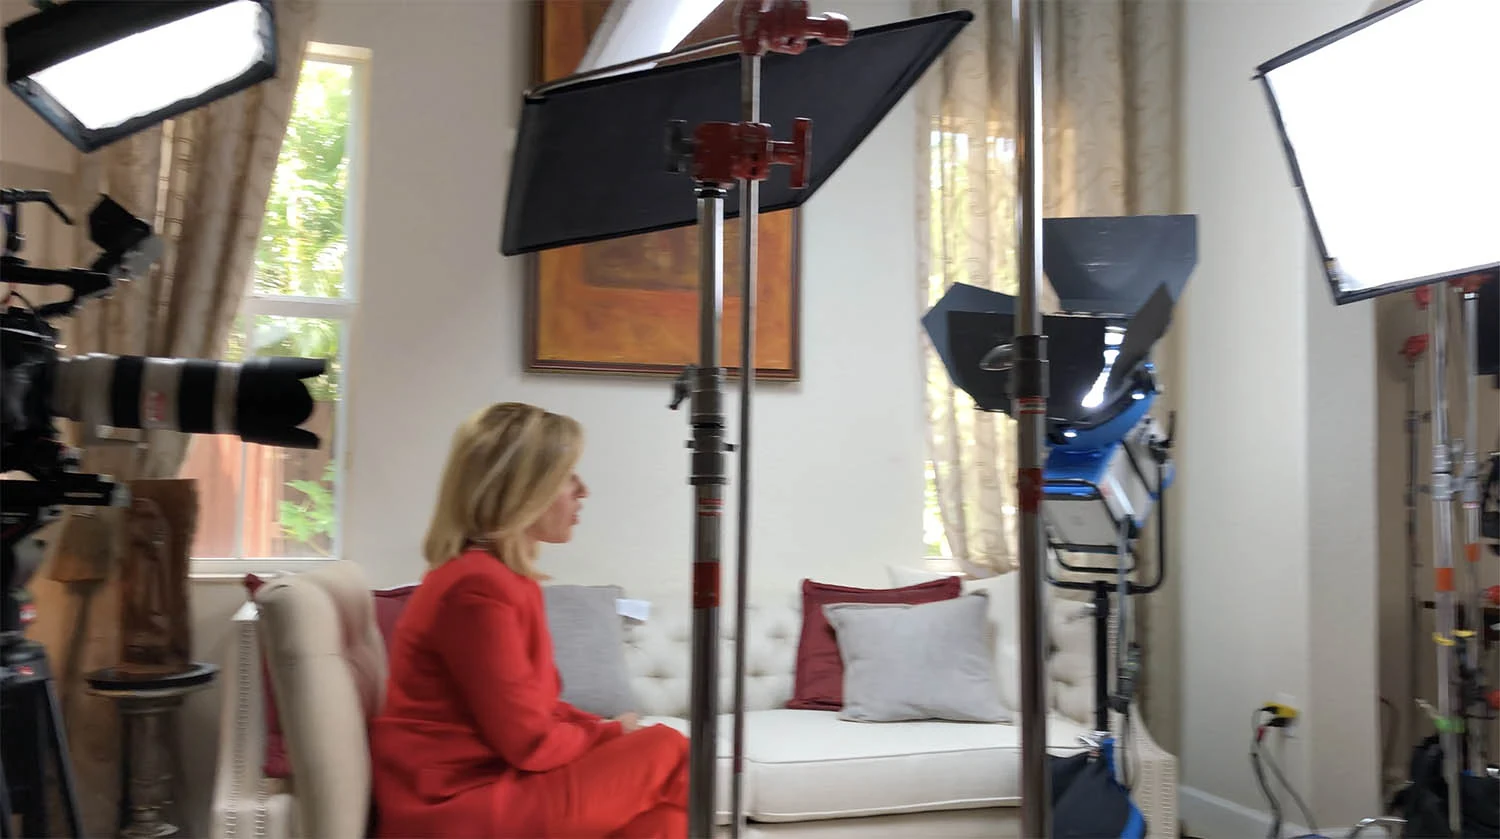
Three-point lighting gives us three useful roles: a key to establish the main direction, fill to control the shadows and a backlight to help separate the person from the background. It doesn’t mean every shot needs three fixtures.
- Key light: Start with the direction that makes sense for the shot. For a seated interview, slightly above eye level and off to one side is a useful place to begin. Then look at the face. Adjust for the person, their eyeline and the camera angle.
- Fill: Decide how much detail you want on the shadow side. Fill might come from another fixture, a white reflector or light already bouncing around the room. You don’t have to make both sides of the face equally bright.
- Backlight: A controlled light from behind can define a shoulder or the edge of someone’s hair. Use it when it helps. A bright rim around every person can look forced, and a lighter background may already provide enough separation.
Build the setup one source at a time. That makes it easier to see what each source changes and isolate unwanted spill or shadows. Check both cameras when shooting an interview with two angles; a light that works beautifully in the close-up might appear in the wider frame.
Light the area where the action happens
A seated spokesperson and a group of people walking into a scene need different coverage. Ask the person to rehearse the actual movement. Watch what happens when they turn, lean forward or step away from their mark. That is a better test than judging a stand-in who never moves.
2. Choose soft or hard light for a reason
Look at the edge of the shadow. Soft light gives you a gradual transition. Hard light gives you a more defined edge. Soft does not mean dim, and hard does not mean badly lit.
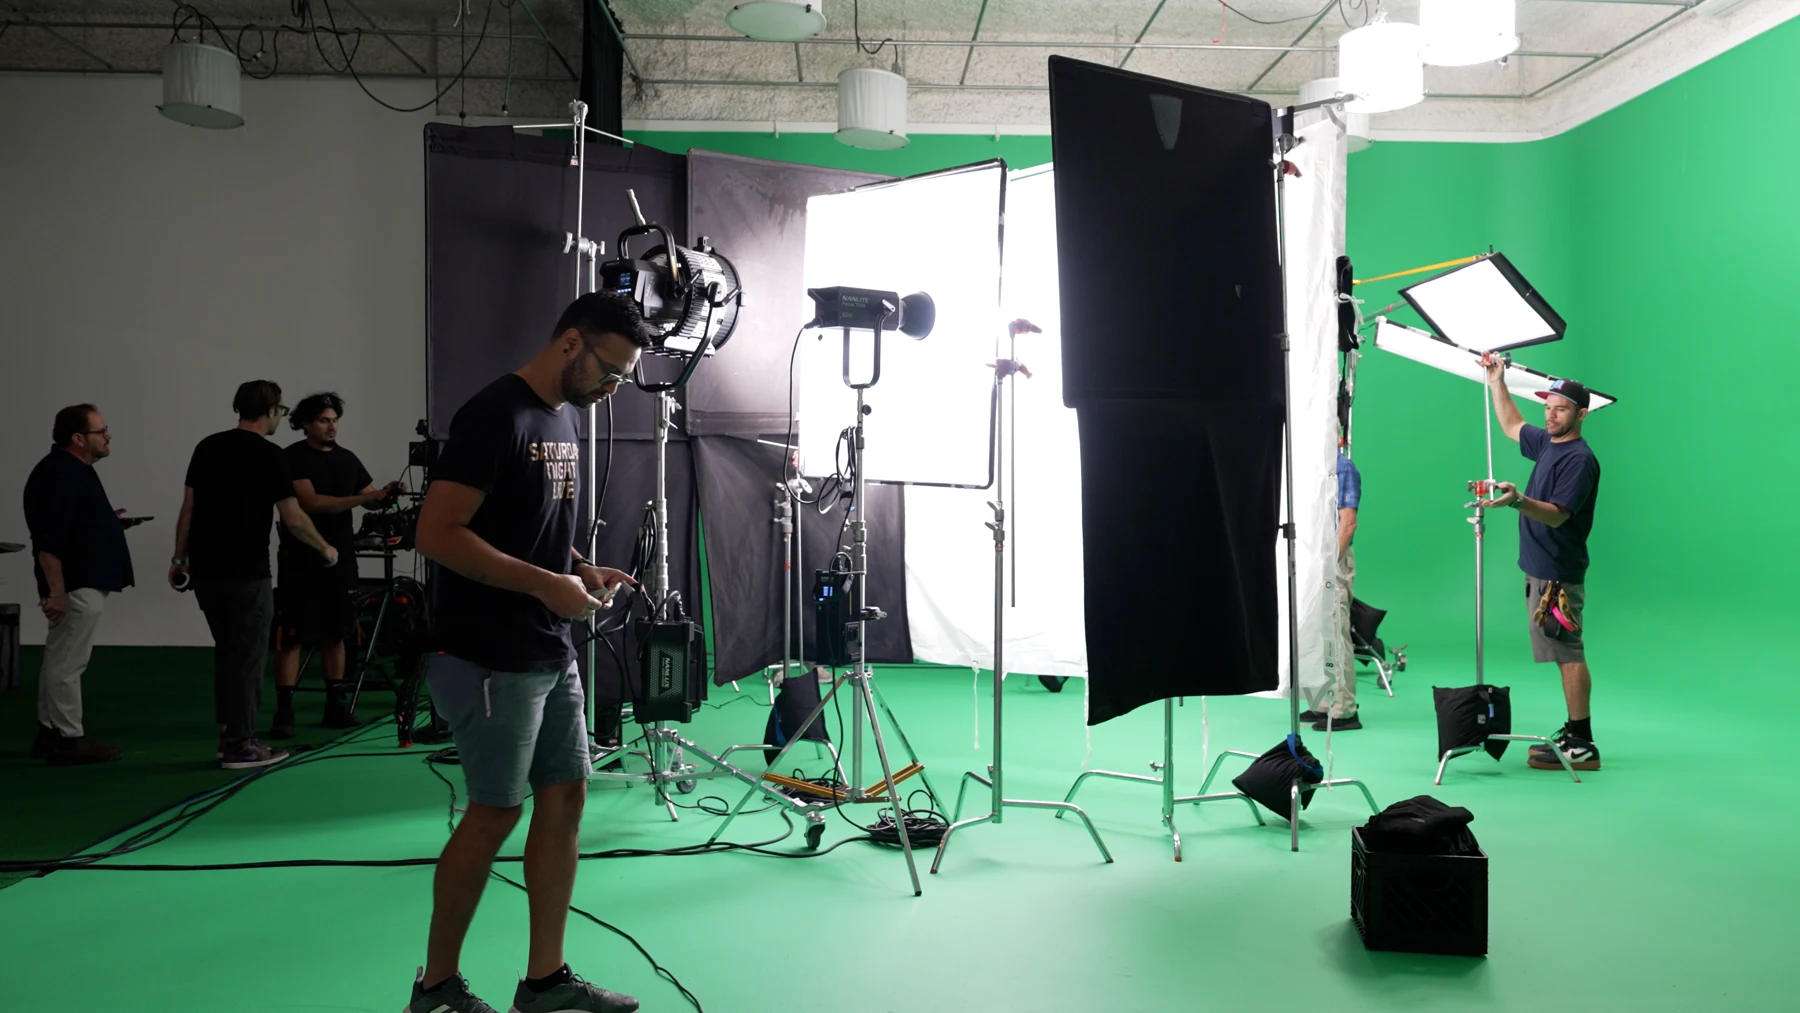
The apparent size of the source matters: how large the illuminated area looks from the subject’s position. A broad source nearby generally gives softer shadow edges than a small source farther away. A softbox, diffusion frame or bounce surface gives us ways to change that working size. ARRI’s lighting handbook explains this relationship and the effect of diffusion.
For an interview, a broad soft source can give us a forgiving starting point. For a product shot, a controlled reflection or a harder edge might show the shape better. We still have to look at the actual person or object. “Soft for people, hard for products” is too simple to be useful as a rule.
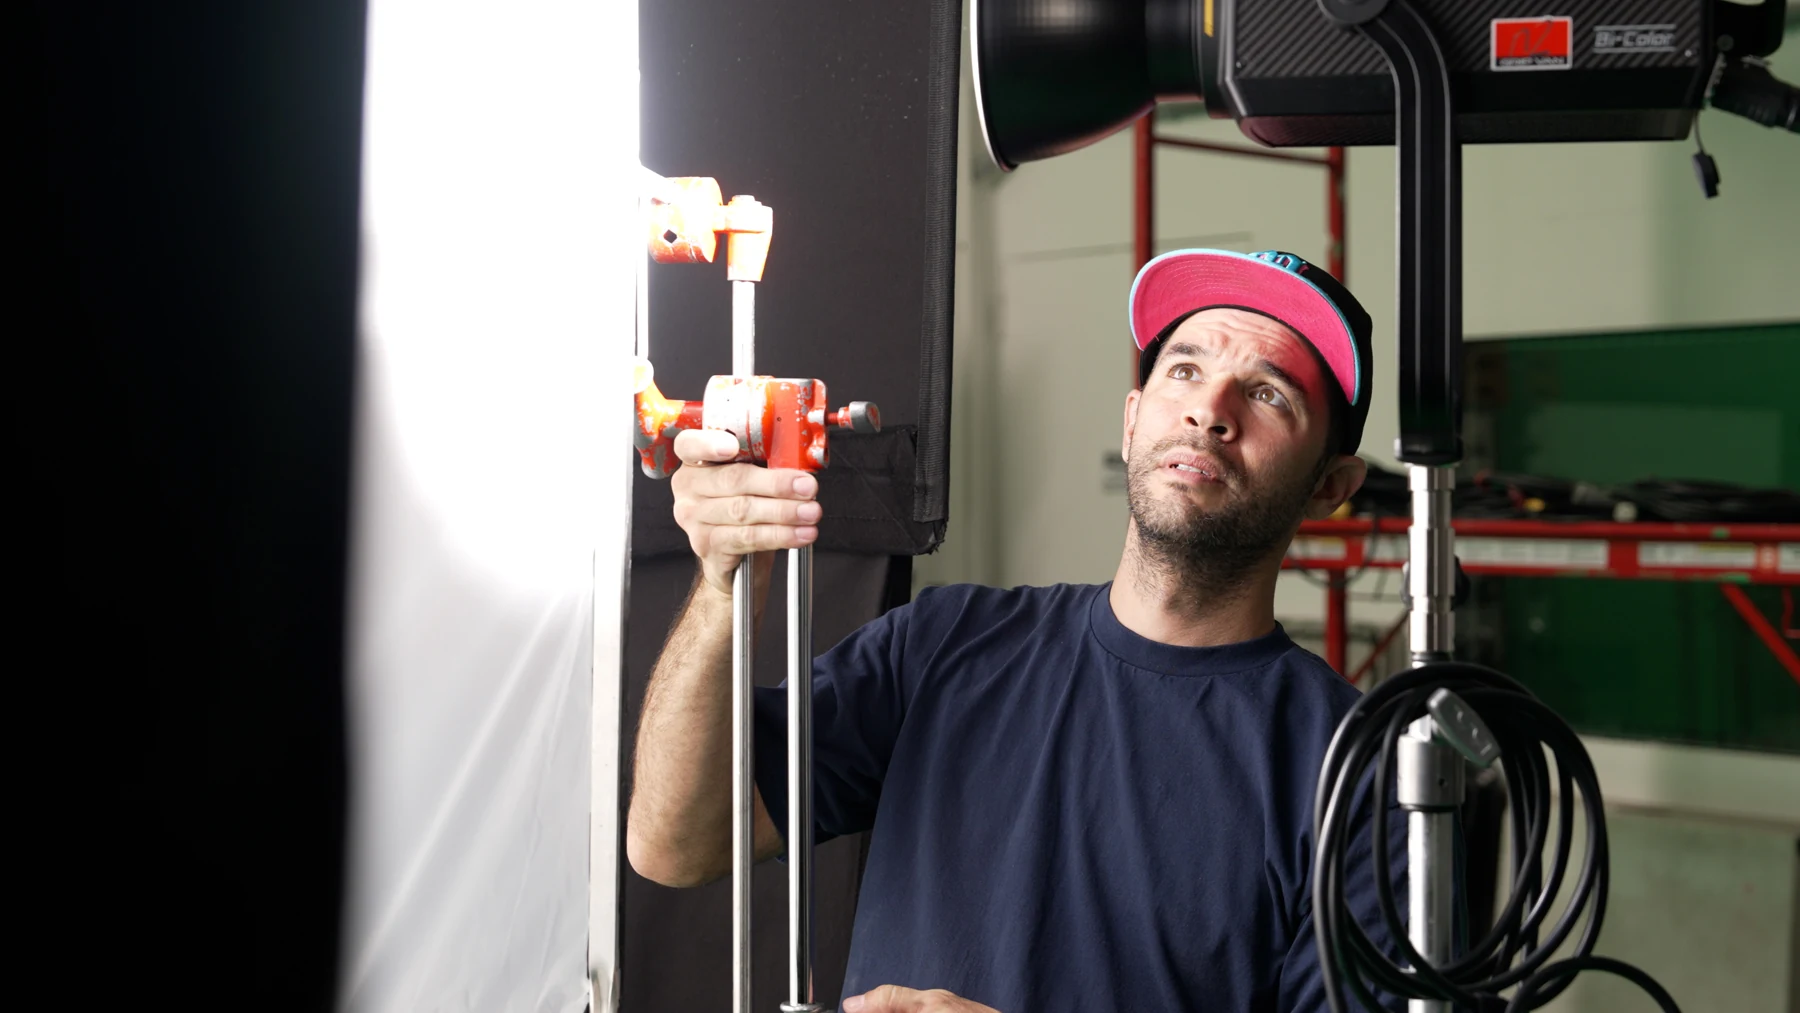
What matters is how much of the diffusion is illuminated and its distance from the subject. Lighting only a small patch of a large frame does not turn the whole frame into a large soft source. A small piece of diffusion right against a fixture won’t behave like a large frame filled evenly with light. Leave room in the plan for the modifier, the fixture behind it and the crew who need to adjust them.
3. Plan around natural light before the shoot
A window can give you a beautiful source. It can also change halfway through an answer. When scouting a location, look at it around the time you expect to film. Check where direct sun falls, whether the windows can be controlled and how the light changes across the room.
If the background outside a window is much brighter than the person, lowering the camera exposure darkens both. You may need to change the angle, reduce the light at the window or bring the subject’s light level up. A uniform neutral-density filter on the lens reduces light across the whole image; it doesn’t correct that brightness difference by itself. Graduated ND filters are different: they darken part of the frame, but the transition has to suit the composition.
Outside, choose the position and schedule together. Open shade, direct sun and an overcast sky give you different starting points. Low sun can give you a useful direction and warmer color, but judge the actual shadow edges. Cloud cover, haze and the balance between direct sun and skylight affect the result; the time of day alone does not tell you how soft the light will be.
Plan the coverage so a conversation doesn’t jump between sun and cloud every time the camera angle changes. Agree on what happens if the weather makes the intended look impossible. Natural light may be available at no charge, but controlling it still takes time, equipment and crew.
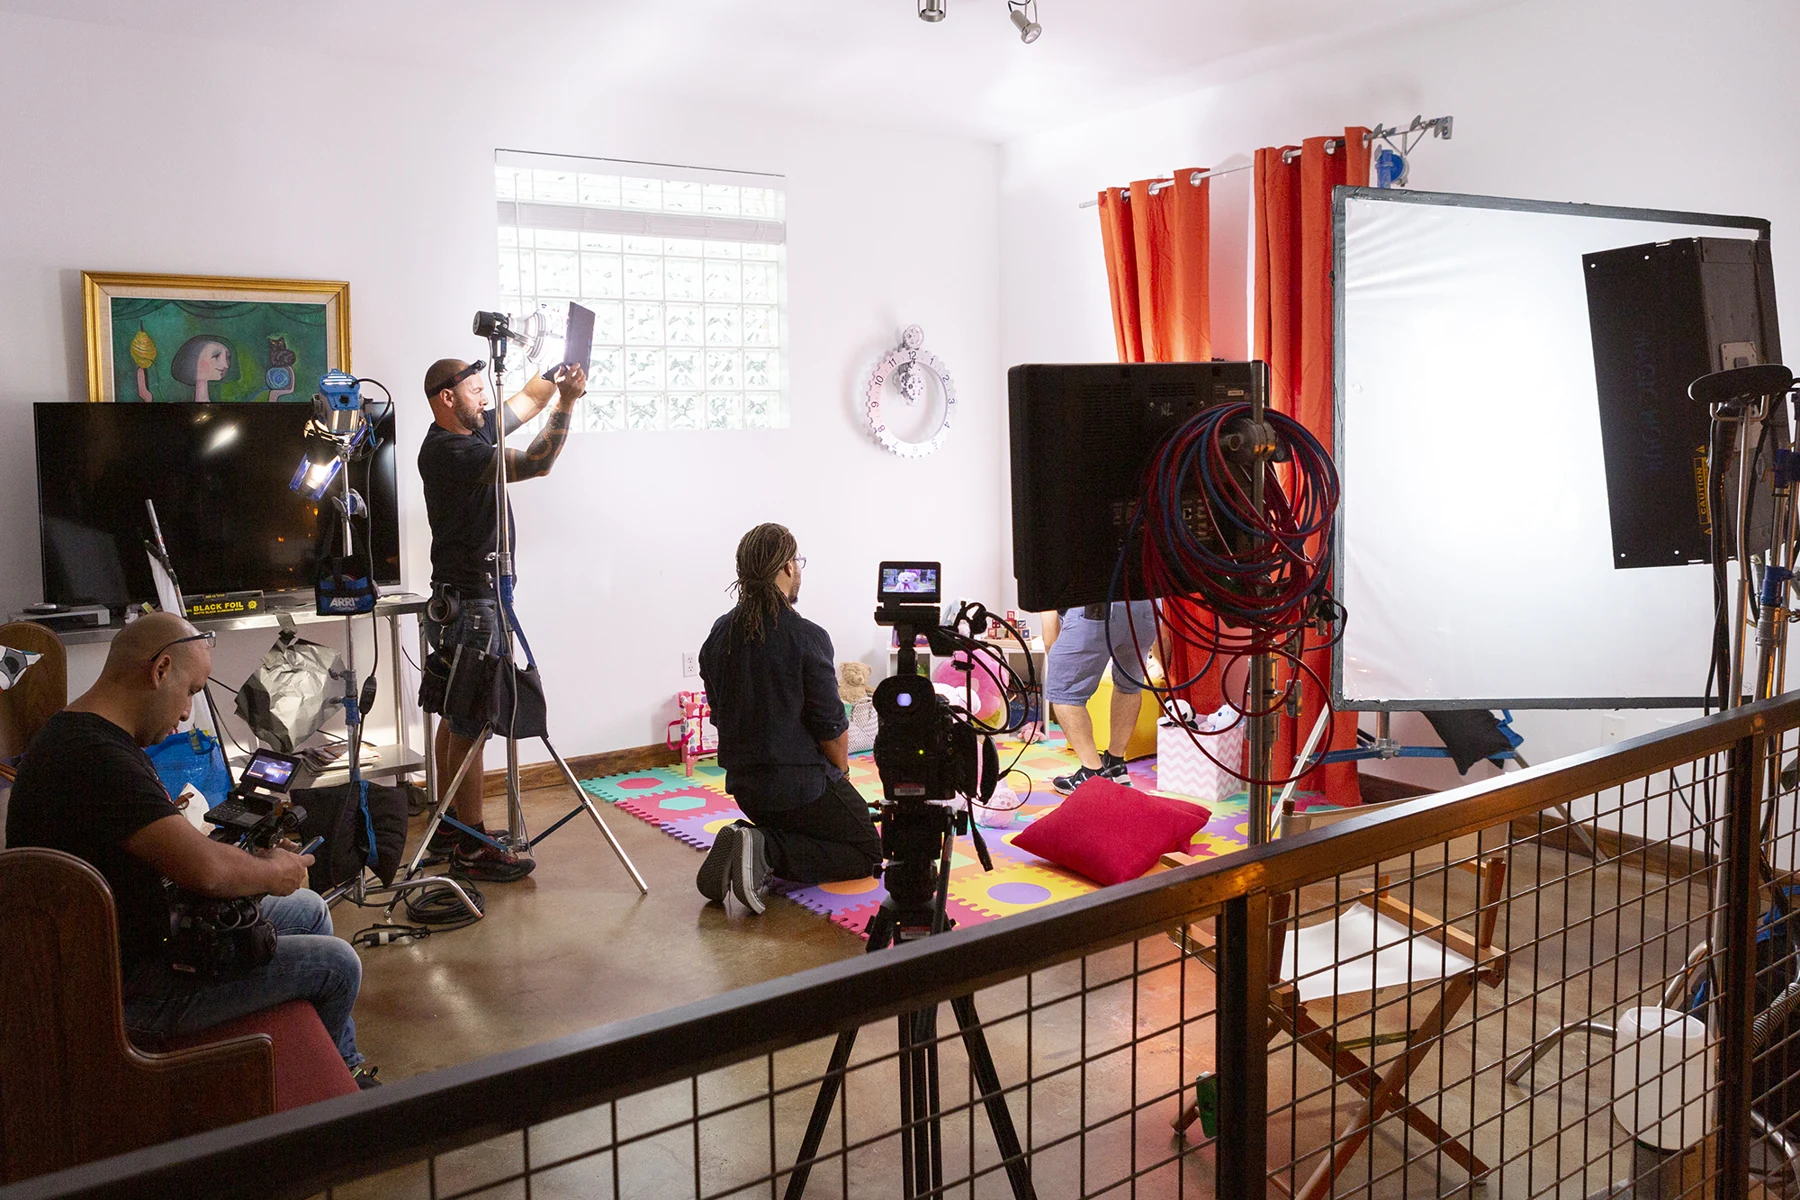
4. Control where the light goes—and where it doesn’t
Sometimes the next improvement is taking light away. White walls, floors and ceilings can bounce so much light back that the subject loses shape. A matte black flag or fabric placed beside the subject, often on the shadow side, can intercept ambient or reflected light that would otherwise reach them. That is negative fill. Its size and placement determine how much contrast it adds; putting a black panel anywhere off camera won’t necessarily change the face.
Flags block light from areas where it isn’t wanted. A grid on a softbox helps limit its spread. These tools can keep the background darker, prevent a light from hitting the lens or stop a bright patch from competing with the person in the shot.
Before adding another fixture, check what the existing ones are doing. Move a light, change its angle or control its spill. If the face looks good but the wall is too bright, turning everything down is not the answer.
Reflections need their own check. Glasses, polished furniture, screens and product packaging can reveal the fixture, the camera or someone standing behind it. Look through the shooting camera and have the subject move naturally. A reflection that disappears in one position may return when the person or camera moves.
5. Match the color—and keep it consistent
Daylight through a window, ceiling fixtures and a desk lamp may all have different colors. Decide which source should establish the look. Then adjust, replace or switch off the others as needed. If one side of a face is lit by daylight and the other by a warm lamp, one global white-balance setting generally cannot make both sides neutral. A uniform mixture is a different situation; the problem is different parts of the image receiving different colors of light.
Match the cameras before rolling and check a neutral reference under the light reaching the subject. Kelvin settings are a starting point. Two fixtures set to the same number can still differ in green or magenta tint and in how they render skin and fabric colors. Matching the Kelvin display is not the same as matching their light output. The Academy’s work on spectral similarity explains why the spectrum of a light matters to the camera.
Mixed color can also be intentional. A warmer lamp in the background or a colored accent may fit the scene. The question is whether it supports the image or creates a distracting cast on skin and clothing.
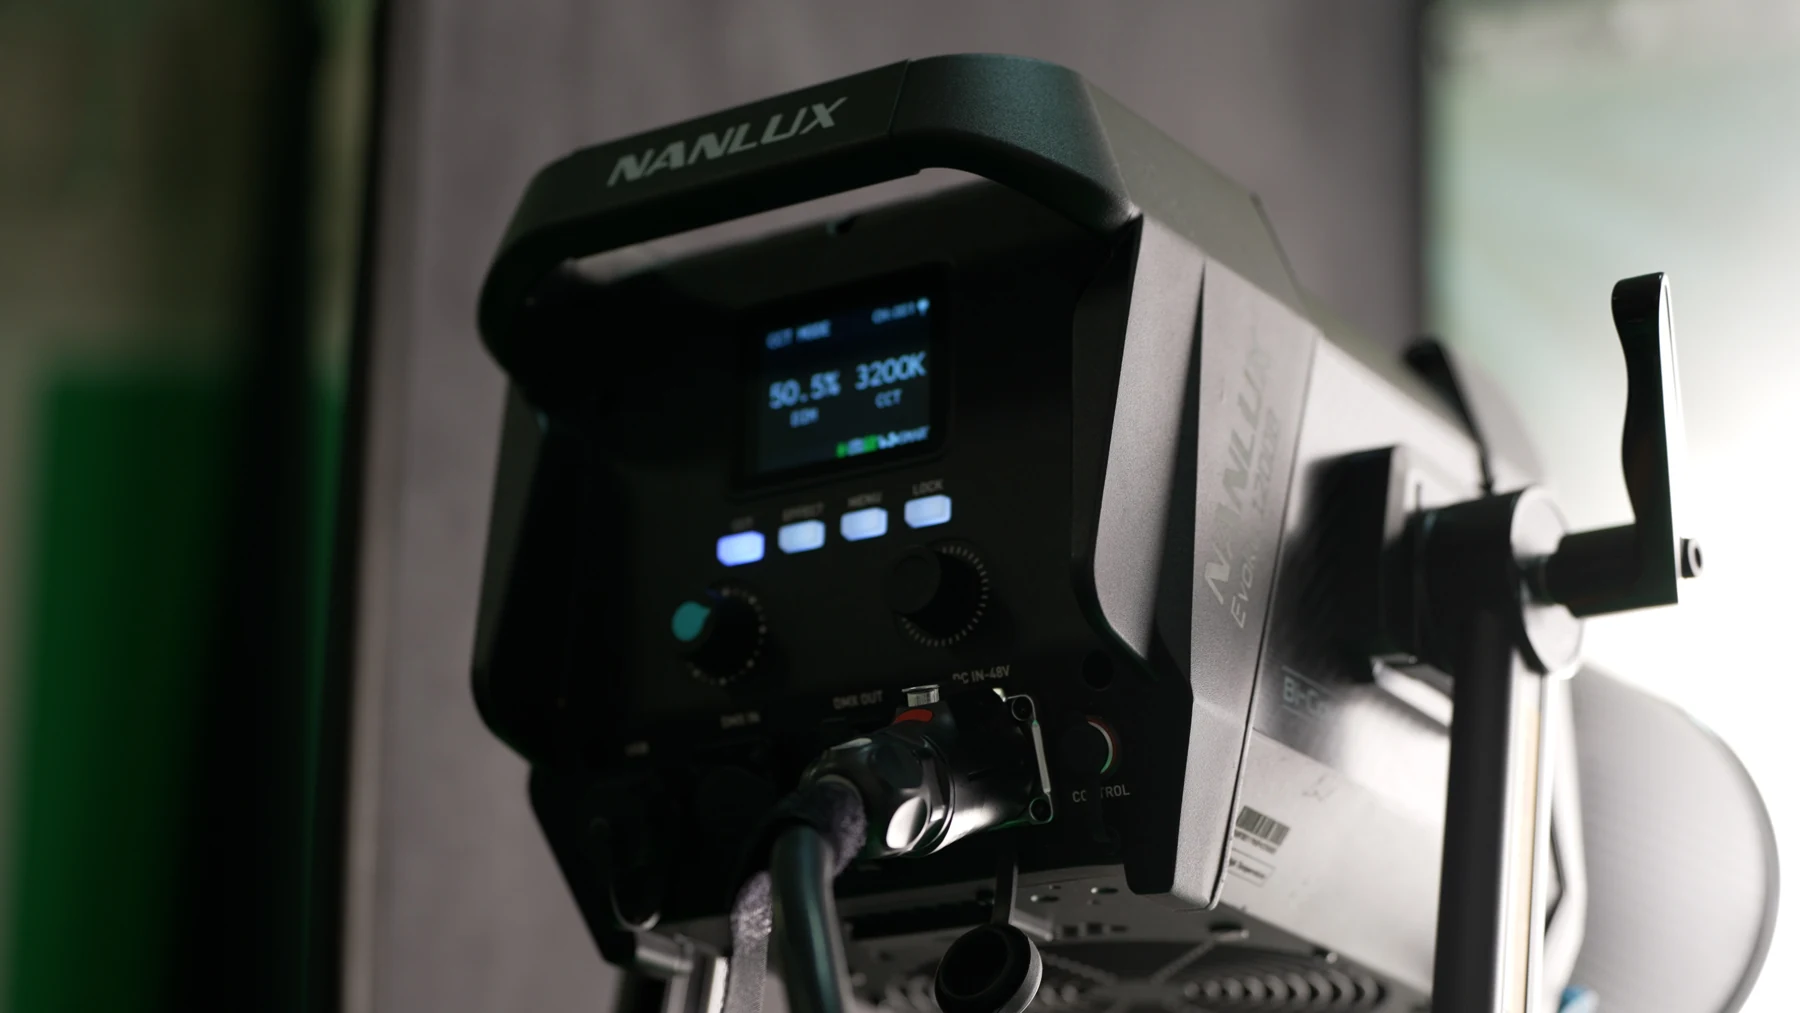
Record the important settings and take reference photos when a setup needs to be repeated. Check the shot again after lunch, a camera move or a change in daylight. Matching the lighting while filming is much easier than asking the editor to repair a different look in every angle.
Give the crew time to build and test the lighting
Lighting a group means covering different positions and heights, keeping faces visible and making sure the result works in the frame. You need to know how many people are coming before choosing the space and equipment.
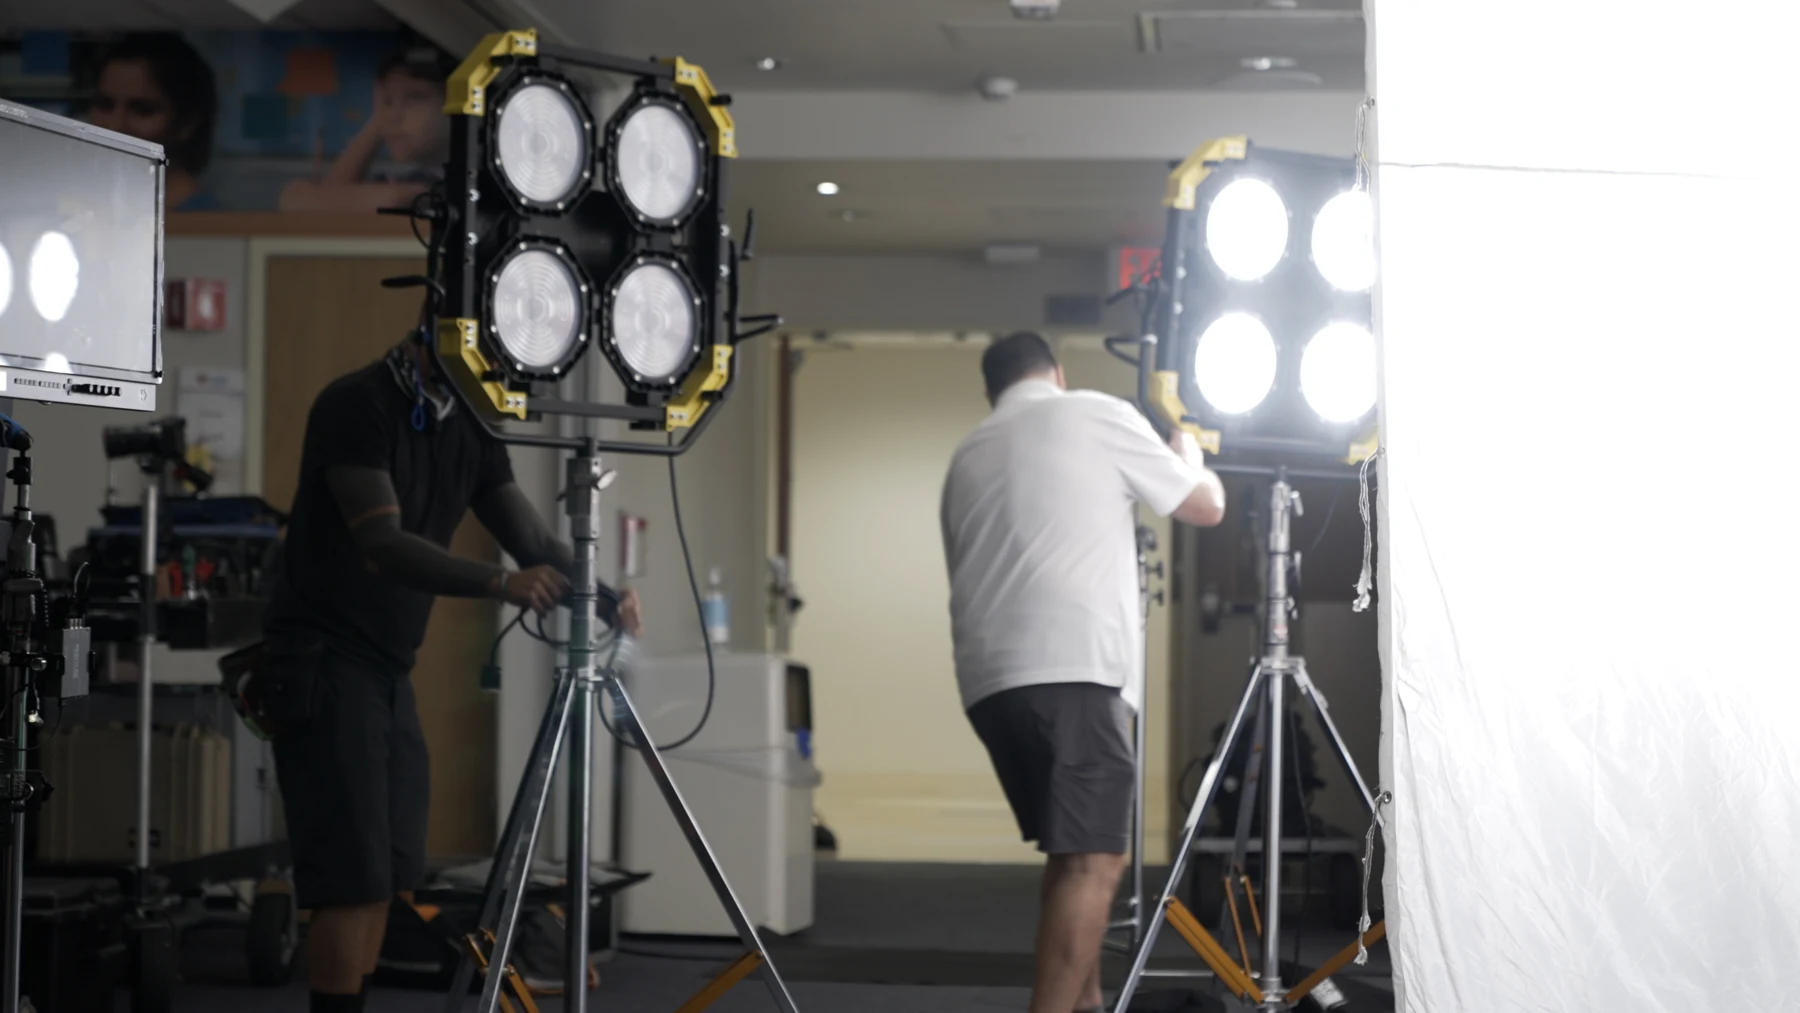
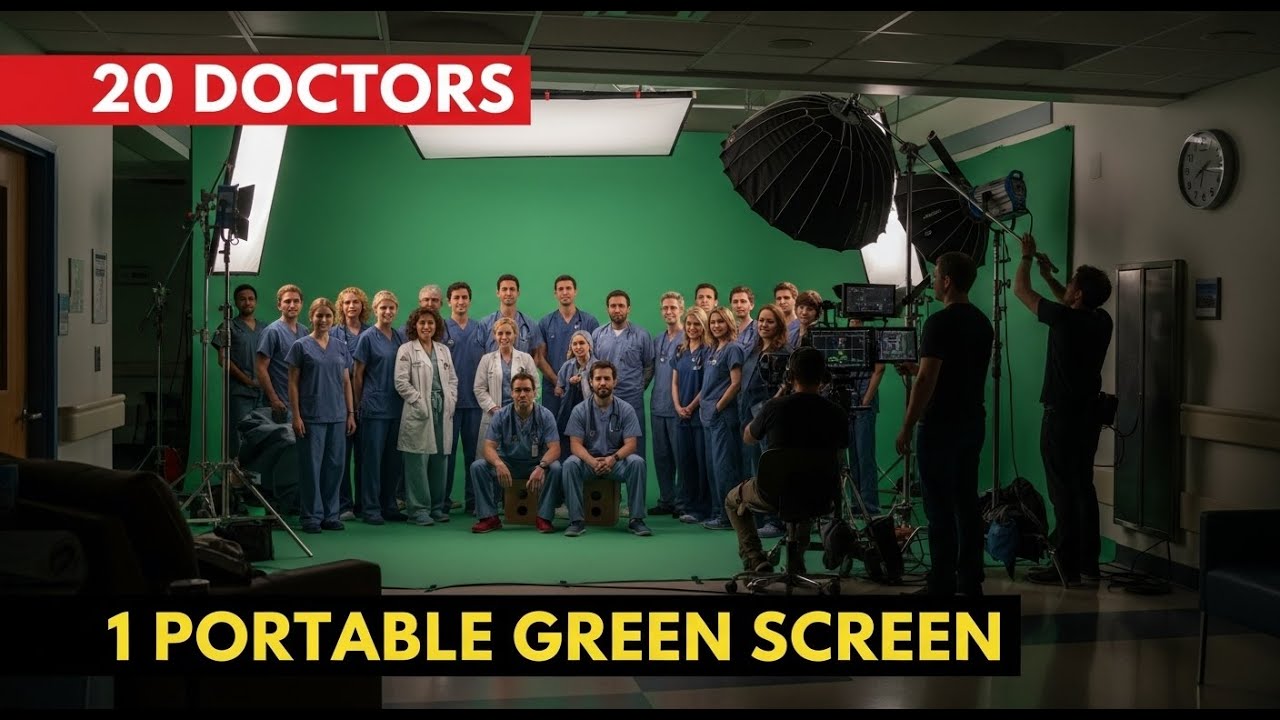
In this video, I talk about bringing a green-screen setup to Nicklaus Children’s Hospital. The groups grew beyond the few surgeons originally expected, and we needed to be ready before their shifts. The hospital’s marketing team coordinated the staff. Our crew had a 4 a.m. call to unload, build and light the setup before the doctors came through makeup.
The lighting plan had to account for a larger group and a firm start time. We couldn’t use the doctors’ limited availability as setup time.
Check the actual shot before recording
Once the setup is ready, review a short recording rather than relying only on how the room looks.
- Exposure: Check the face and important highlights on the monitor and camera scopes. Don’t sacrifice the subject just to preserve an unimportant bright area.
- Movement: Rehearse the action and check every camera angle for shadows, reflections and fixtures entering the frame.
- Flicker: Test the lights and screens at the frame rate, shutter settings and light output levels you will actually use, including any slow motion. Dimming can change the result.
- Sound: Listen for fixture fans, dimmers or other equipment that could affect dialogue.
- Working space: Have the crew secure the stands, manage cables and keep the route through the set clear. Large modifiers need proper support.
A good lighting plan starts with the scene, the location and the action. Once those are clear, we can choose the package and allow the right amount of setup time. Our guide to video production costs explains how that work fits into the budget.
If you’re planning a commercial, interview or business video, send us the brief and the location details. We’ll work through what the shoot needs.
Further technical reading: Rosco on negative fill, Jon Joffin, ASC, on working with daylight, and ENTTEC on LED flicker and camera settings.